Rhino is a 3D computer graphics and computer-aided-design (CAD) application software. It's often used in the processes of CAD, CAM (Computer Aided Manufacture), rapid prototyping, 3D Printing, and reverse engineering in industries such as architecture, product design, jewelry, industrial design, as well as for multimedia and graphic design.
In our first lesson on Rhino we began to grasp the basics. Below are several screen-caps from the processes taught, as well as notes to accompany them.
 |
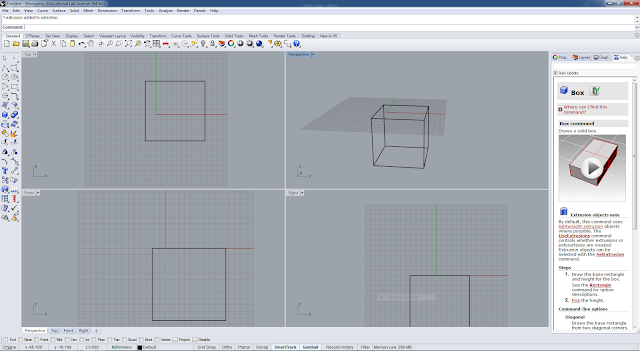
| First we began with the basics; drawing a line, then turning that into a cube using typed commands. To draw a line, type 'Line' into the command bar. A cube can be formed using the 'Box' tool. |
 |
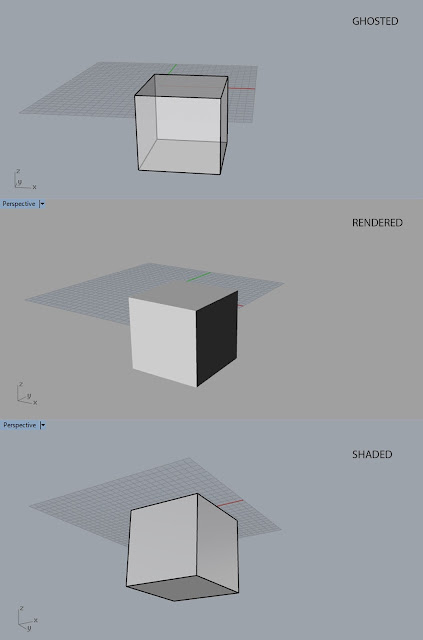
We then looked into different forms of selection. The above three show just a few of the elements of variety available. These come in useful when wanting the see your object in different ways, e.g the solid object as it is and how it will appear if 3D printed, the different layers and objects within, or if you want to see every shape or line that's on screen.
|
 |
| Duplicating the cube shape previously made, the copy was scaled down to sit within the bigger cube. This was re-sizable and easily rotated with the 'Gumball' mode switched on; shown by the blue, red and green arrows appearing. |
 |
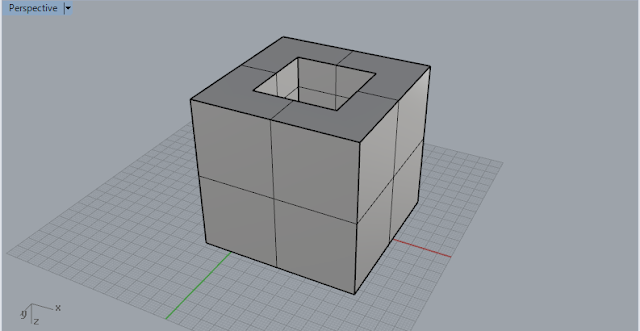
| Using the 'Boolean Difference' tool, the inner square was trimmed away/ removed. The software describes this tool as being able to 'trim the shared areas of selected polysurfaces, using another set of polysurfaces.' I'm pretty sure this basically means you can cut away at a shape using another shape to made an indent. |


No comments:
Post a Comment